My own Solar Power Plant - part I
Published on
Tags: solar, electrical, DIY
I made a major step in implementing renewable energy at home! I setup a small 100W solar power plant (if I may say so) at home. Firstly, I was motivated by my love for renewable energy and the need to reduce dependency on dirty coal energy. That's been my childhood dream. I used solar energy because it was the easiest. (I'm explaining this to a person who knows somewhat about electicity but not about renewable energy). Here's what I bought
- A 40 W panel and a 60 W panel (INR 10,000)
- solar charge controller (INR 1500)
- Two 6A diodes to serve as blocking diodes while panels are in parallel.
- A 12V,35Ah flooded maintenance free lead acid battery.(INR 3800)
- An inverter (already had one, which cost INR 3.5k)
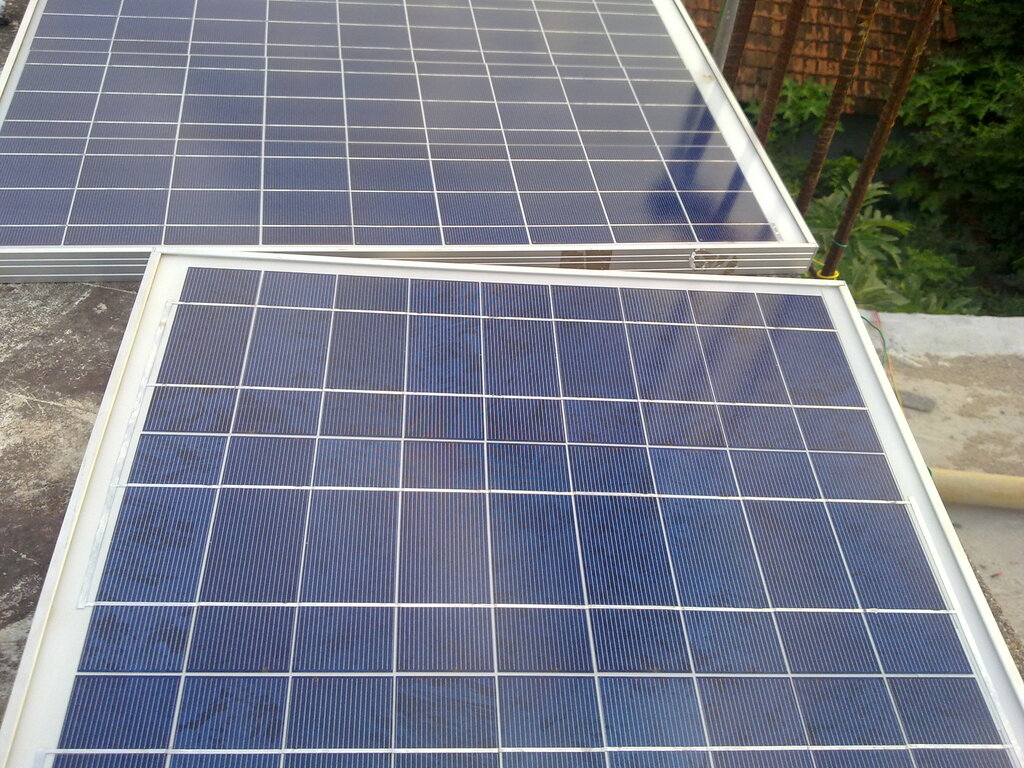
Figure 1: Solar panels - 40W front, 60W back
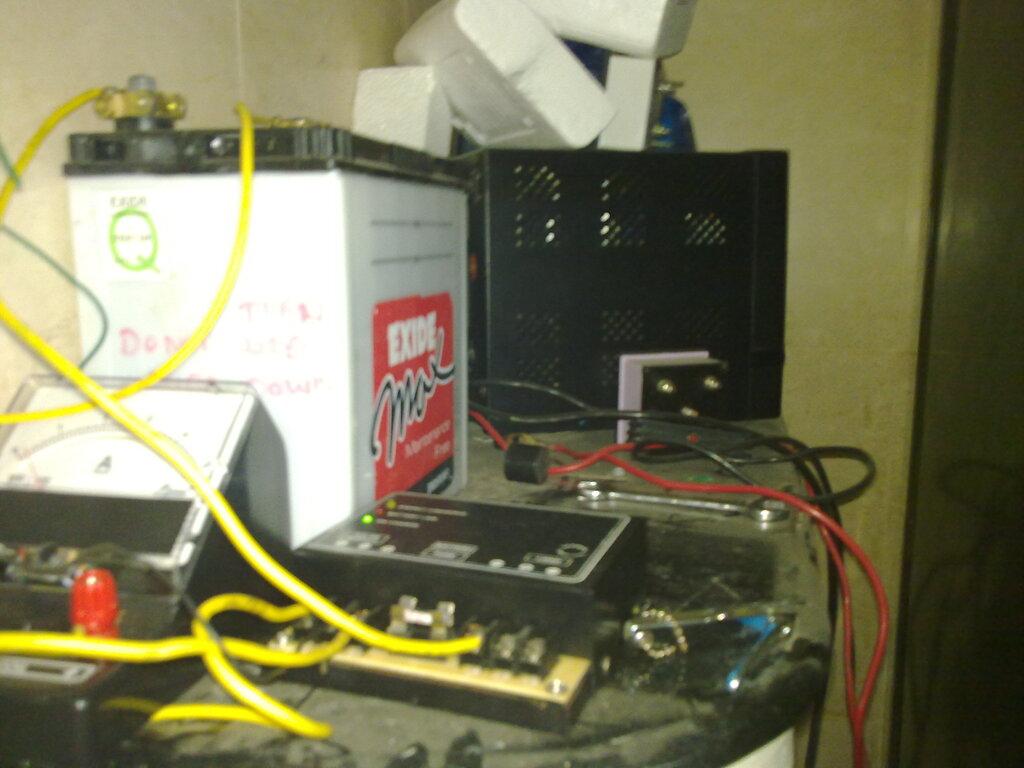
Figure 2: Battery, DC Ammeter, Charge controller (bottom) and inverter (behind battery)
Now that I've bought the inventory, I set about installing the system. I setup the solar panels facing the sun with the help of a few bricks to tilt it 8 degress towards south to compensate for the latitude of my place. I then connected the solar panels in parallel using a blocking diode in each of them to isolate from one another. Then I connected the battery to the charge controller and to the inverter. After that, I connected the solar panels to the charge controller. Here is the schematic in pdf.
A charge controller is a device that takes the input from solar panel(17V rated) and feeds it to the battery at the appropriate level(<=14V). Charge controller also gives a DC output taking electricity from either the load or the device. Charge controller cuts off the input from the sun when the battery is fully charged and cuts off the load when the battery levels are too low.
Inverter is a device that converts DC power of the battery into AC power required by my laptop or any other device. I can either connect the input of the inverter to the output of the charge controller or to the battery itself. I choose battery terminals as I found inverter itself had the capability to cut off the battery from the load when the batter level was too low.
Now with the arrangement done, I put it into action! The solar panels absorbed the divine energy given by the sun and then transformed it into electricity, feeding the batteries! But here, the battery was already pre-charged in the factory shipped state and it did not take much time to charge it fully. Only about 2 hours. I decided to be cautious and not operate the inverter to supply the load during day. Hence, I waited for the night.
At night, I turned on the inverter and connected the laptop to it! It was so exciting for me know that my laptop was being powered by the sun! I was able to power the laptop for about 5 hours before facing some trouble. I will tell more about that in the next post. On the second day, I was able to power for another 5 hours, though the lead acid battery can power the laptop for nearly 10 hours. I've explained more about that in the next post, where I learnt a lot about the nature of the lead acid batteris that caused the problem. Until then, good bye! :)
NOTE: My next post contains more information for a person who's an electrical engineer.
